What You May Not Like
* Requires a compatible UV/LED nail lamp for proper curing.
* Application that is too thick can result in incomplete curing.
* The actual colour may appear slightly different depending on lighting or screen settings.
* Proper nail preparation is important for good adhesion and longevity.
Precautions
* For professional nail use; avoid unnecessary contact with skin and cuticles.
* Do not apply gel polish directly over irritated, damaged or infected nails.
* Avoid flooding the cuticle or surrounding skin.
* Cure according to the recommended time for your lamp and the product system being used.
* Do not deliberately under-cure the product.
* Keep the bottle tightly closed when not in use.
* Store away from direct sunlight, excessive heat and UV/LED light.
* Keep away from children.
* If irritation, redness, itching or burning occurs, discontinue use and remove the product appropriately.
How to use
1. Prepare the natural nail: Remove old product, clean the nail plate and gently push back the cuticle.
2. Shape the nail: File the free edge into the desired shape and lightly refine the surface if required by your nail-preparation system.
3. Remove dust and oils: Thoroughly cleanse the nail plate to leave it clean and free from dust, oil and residue.
4. Apply base coat: Apply a thin, even layer of a compatible gel base coat. Keep the product away from the skin and cuticle area.
5. Cure the base: Place the nails under a suitable UV/LED lamp and cure according to the base-coat manufacturer’s recommended time.
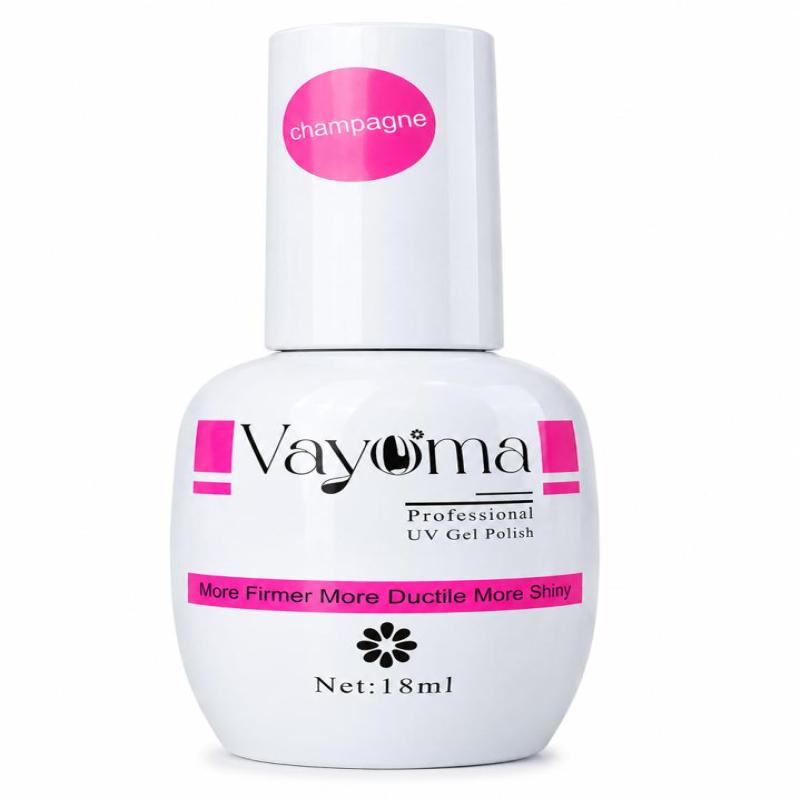
6. Apply Vayoma gel polish: Shake or gently mix the bottle if necessary. Apply a thin, controlled first coat of Vayoma Professional UV Gel Polish.
7. Keep the application clean: Avoid touching the cuticle and sidewalls. If any gel touches the skin, clean it away before curing.
8. Cure the first coat: Cure completely under the appropriate UV/LED lamp according to the product and lamp system being used.
9. Apply the second coat: Apply another thin, even coat to build the colour and coverage. Avoid making the layer unnecessarily thick.
10. Cure again: Place the nails under the lamp and cure thoroughly.
11. Seal the manicure: Apply a compatible gel top coat for added shine, protection and durability. Cap the free edge where appropriate.
12. Final cure: Cure the top coat completely according to its manufacturer’s instructions.
13. Finish the service: If the top coat produces a tacky inhibition layer, remove it with the appropriate cleanser. If using a no-wipe top coat, no cleansing step is required.
Professional tip: Thin, even layers generally give better curing, smoother application and a cleaner salon finish than applying one thick coat.